July 9, 2023

Absolute Beginner’s Guide To Learning How To Triathlon Swim

Swimming in a triathlon is one of the scariest things to beginner triathletes. Add open water and some people become terrified. However, this should not be the case. If you have never learned to swim properly, we will get you started by getting comfortable in a pool first.

While hanging onto the edge of the pool, with your outstretched arms and face in the water, lift your feet and your body so that it is lying flat near the top of the water.

Kick with your feet in order to keep your legs near the surface of the water. This should not take a lot of effort if your arms are outstretched and your face is in the water.

Rotate your body to the right about 45 degrees. Turn your head even more to inhale and then put your face back into the water and blow out your air. Do it again, but to the left side.

Repeat this several times. You want to get the get used to how your body feels in the water as well as blowing out your breathe in the water.

Relax! This is very important!

Now, move away from the wall a few feet.

Inhale and then lie on top of the water again with arms outstretched. This time you are not holding onto anything!

Blow out your air into the water as your face should be underwater looking straight down or slightly forward.

Try to relax as you are doing this.

Do this for a while. Notice how you naturally float!

If any part of you starts to sink (arms or feet), you can stiffen your back and stomach to balance. If your legs sink, kick just enough to keep them up.

You should feel like Superman!

Spread out your arms so that your elbows and hands are past shoulder width. With your right hand, bend at the elbow so that your forearm and fingers point to the bottom of the pool. Once you are in that position, use your upper back muscles to push your forearm and fingers backwards. Your forearms and fingers should still be pointing to the bottom of the pool. This is where you will get the majority of your propulsion (not from your feet by kicking). This is called the “pull”. Make sure that you are not locking your elbows straight as you are doing the “pull”.  This can cause shoulder injuries.  Keep your elbows bent as they need to be able to adjust in keeping your forearms and fingers pointing towards the bottom of the pool.

As you are doing this movement, your upper body is rolling to about 45 degree to your right (same arm that is “pulling”). This rotation also helps you maximize your propulsion. Your left hand is still reaching in front of you at this time for balance. During this time, you can also rotate your head to the right so that your mouth is slightly above the water. This is where you would inhale when you need to. Otherwise, you can keep your face in the water looking straight down or slightly ahead breathing out.

Reach forward.

Start the pull with high elbow bend and fingers pointed down.

Continue towards your hips and touch your hips as your arm exits the water.

When your hand reaches your hips, pick your elbow up out of the water. Your body can rotate back to the starting position being flat with the water. You can get your arm back in front of you in one of two ways. One is to swing your arm out until it is back in front of you. The other way is to bend at the elbow and have your fingertips hover just above the water in a direct line back to starting position. The first way is used by many triathletes and the second way is used when pool swimming. However, use whichever one is the most comfortable to you! Don’t force one way or the other as you can get shoulder injuries!

Arm swings out with elbow bent.

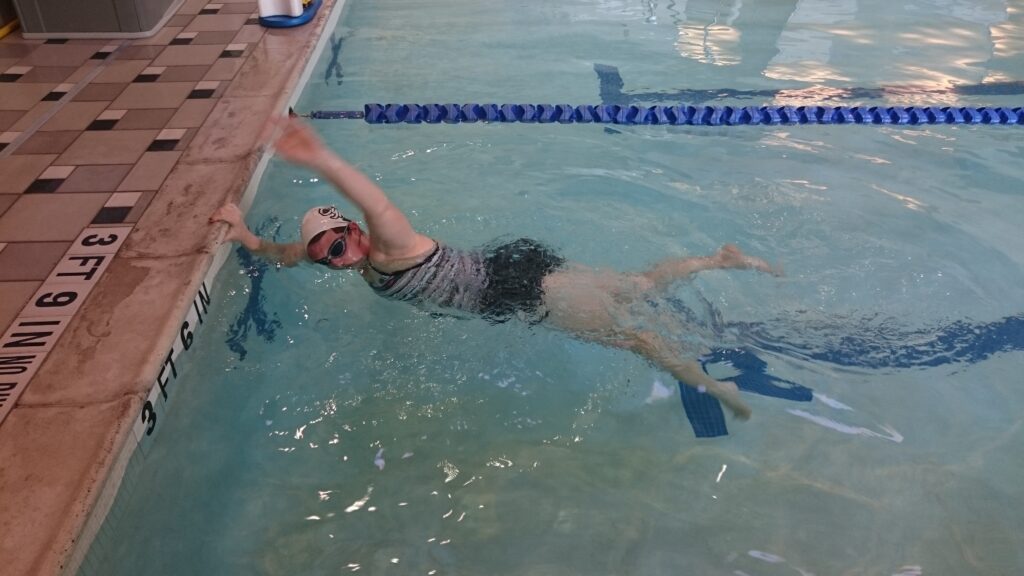
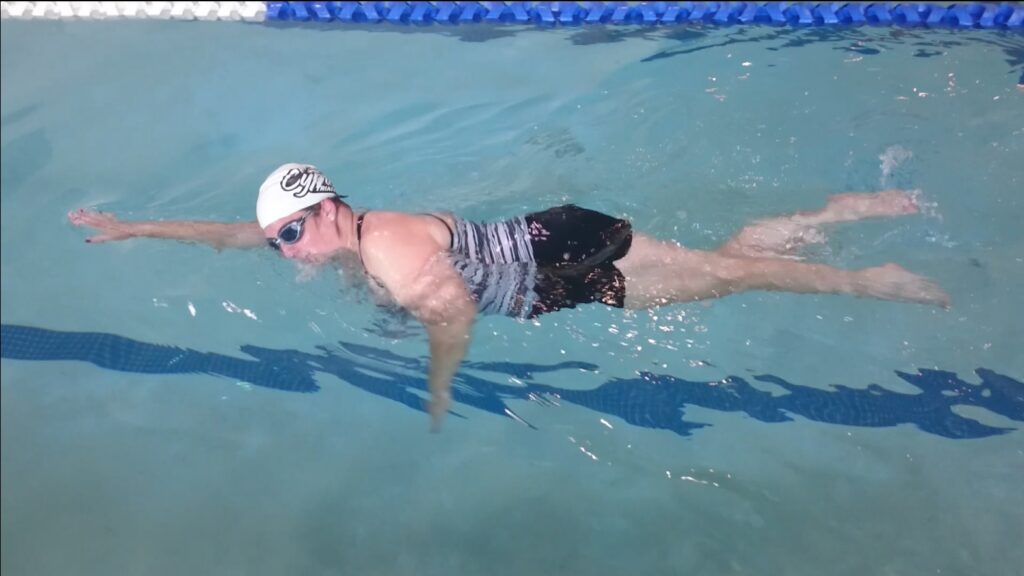
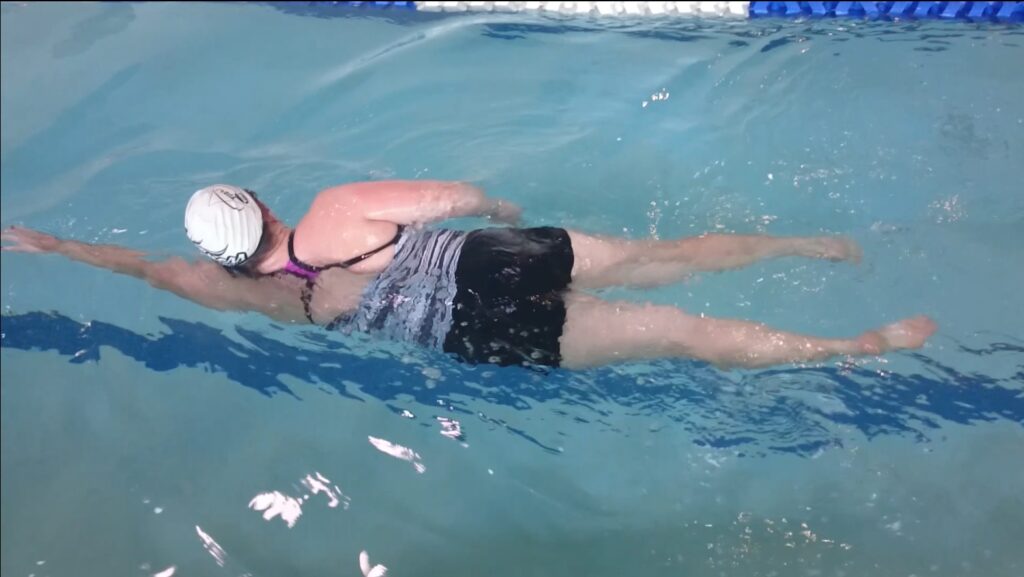
Your hand entry back into the water should be fingertips first. Entry can begin anywhere from the shoulder forward. Again, this is for your comfort to avoid injury. You should now be back in the Superman position again.

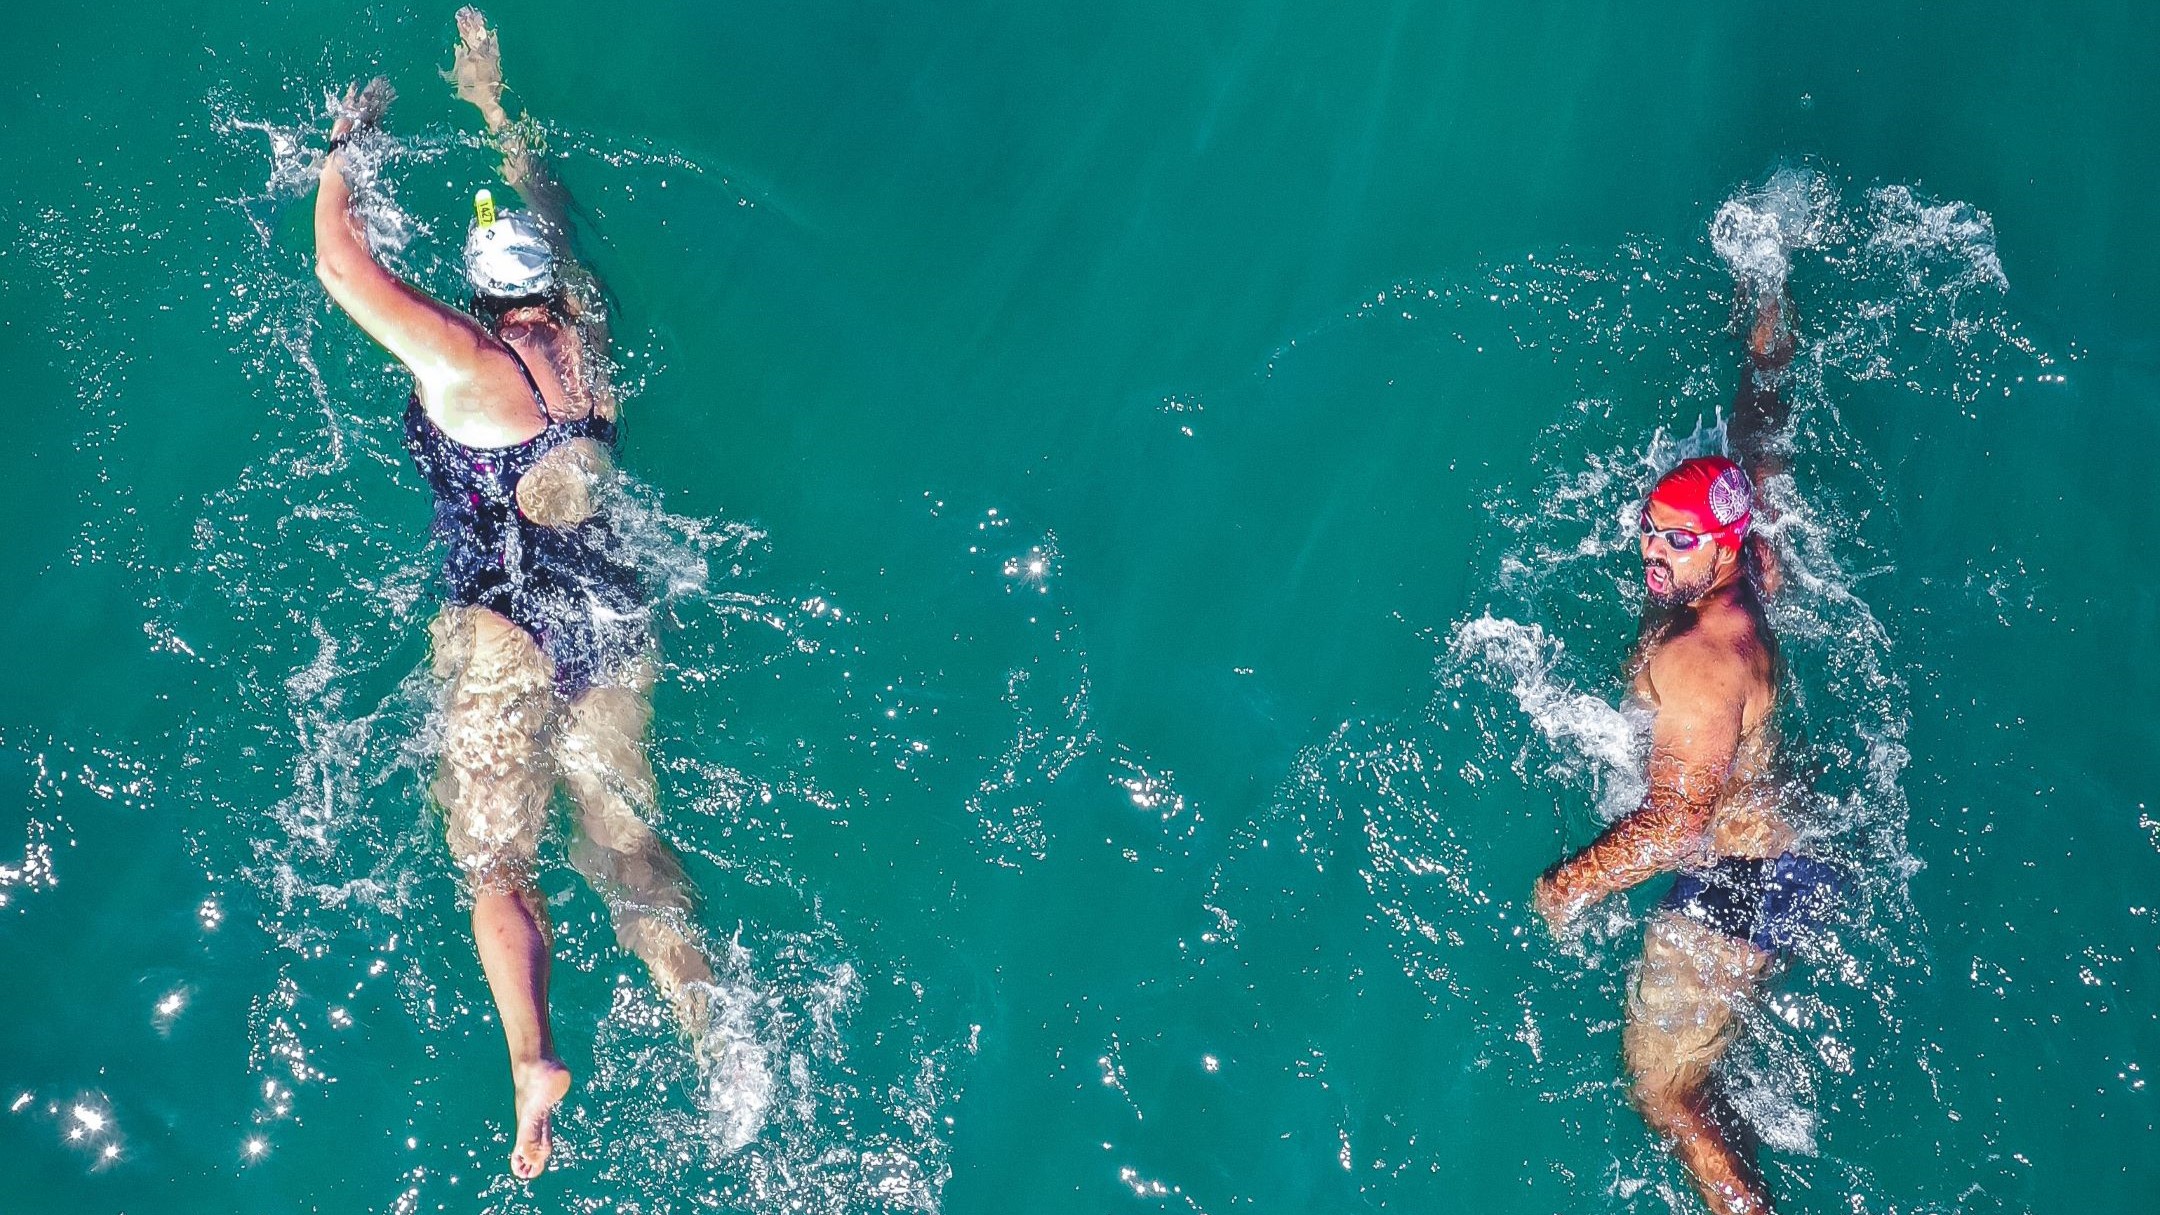
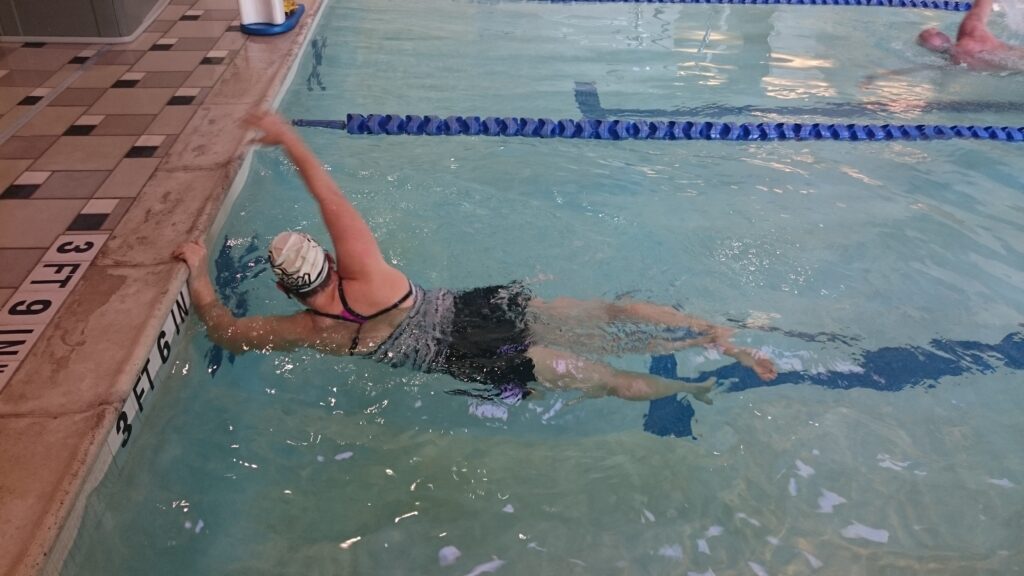
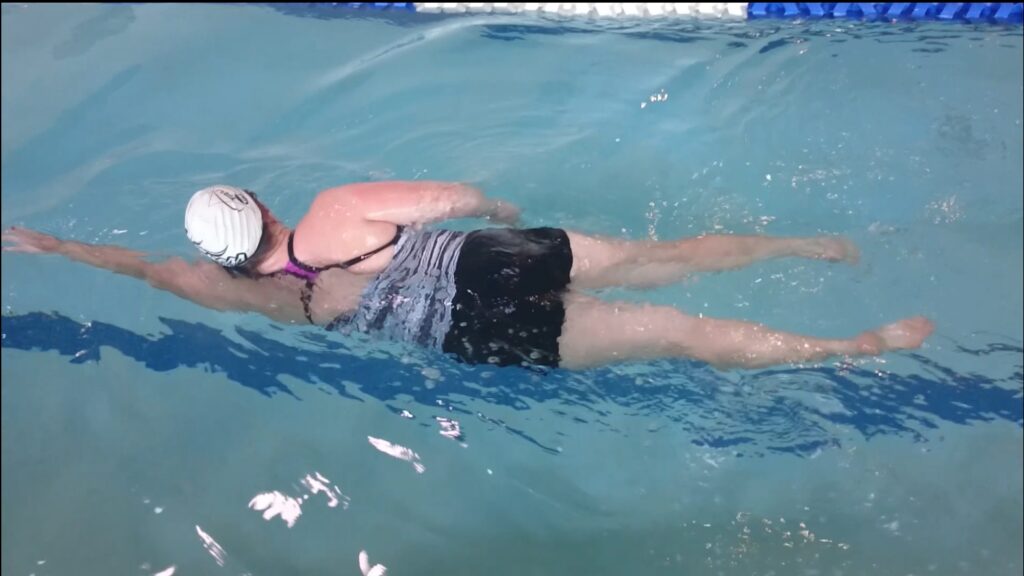
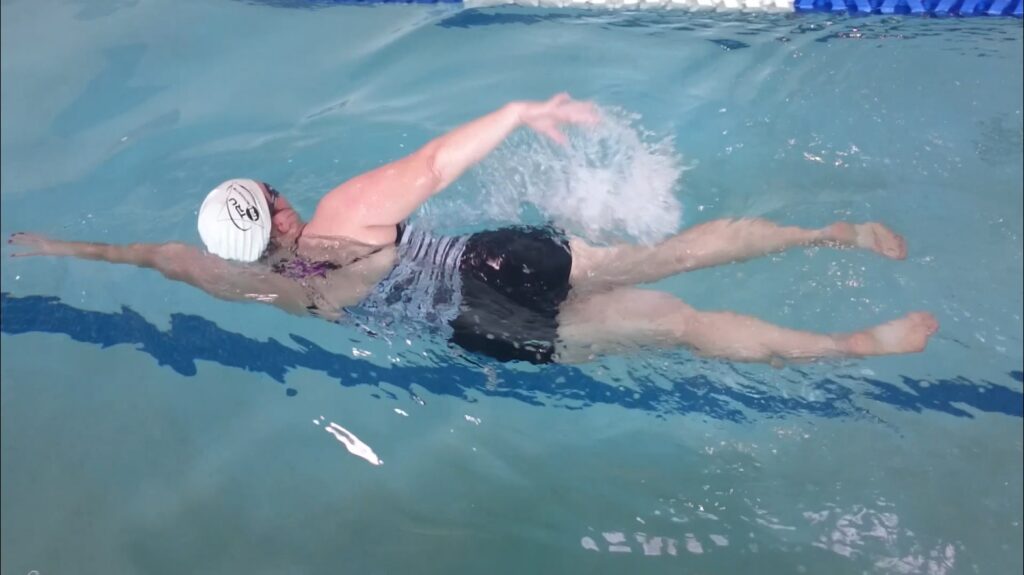
Now that you have done one side, you do the exact same technique for the other side. Do a few strokes to feel the pattern as it is sort of like dancing! Breathe when you need to! Blow out air when your face is under water, not above. Do not hold your breath!

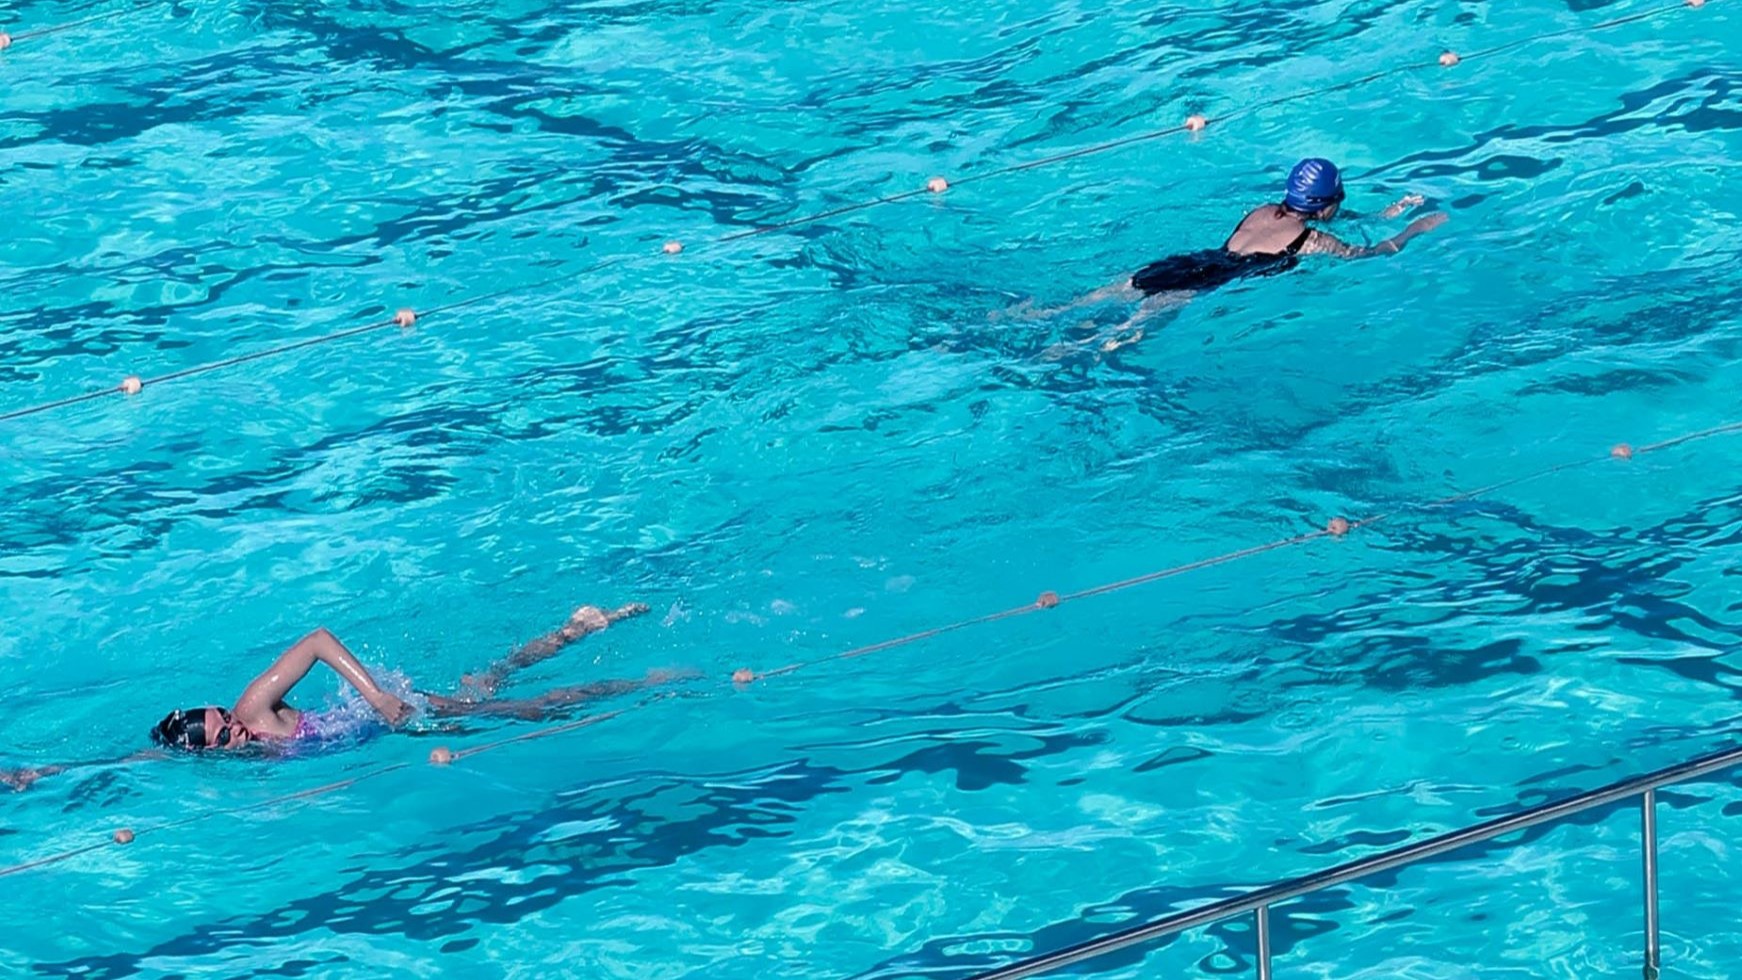
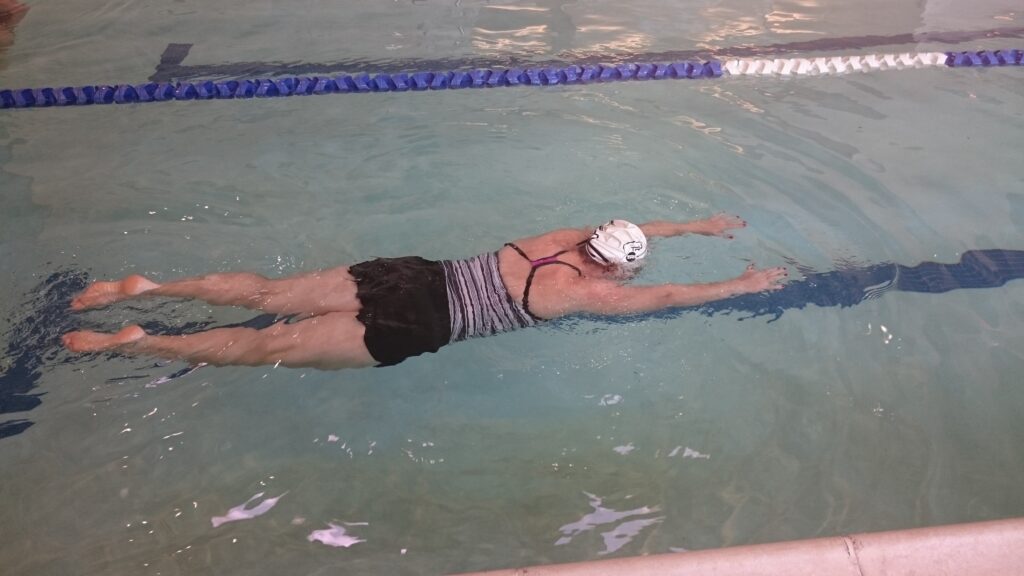
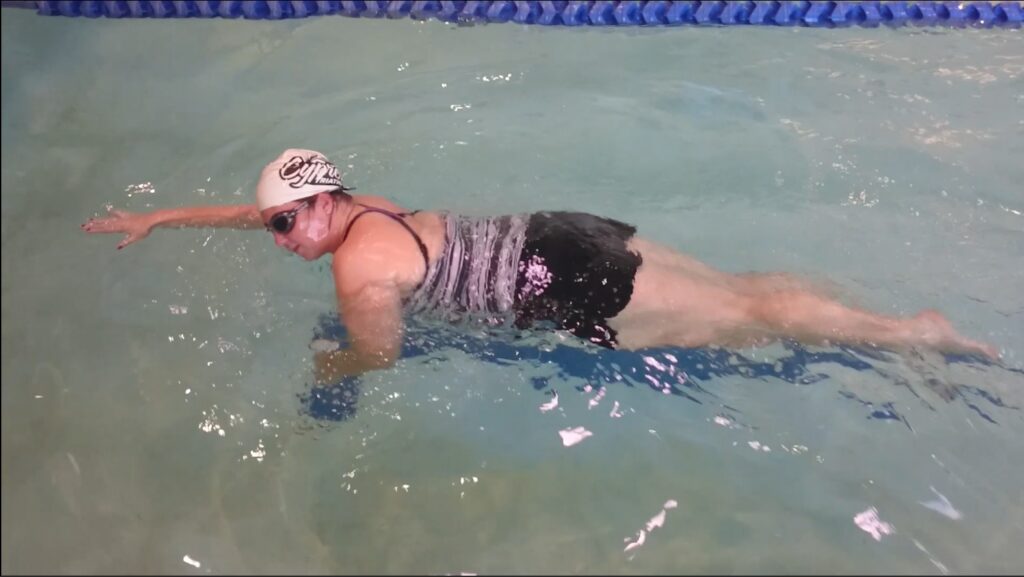
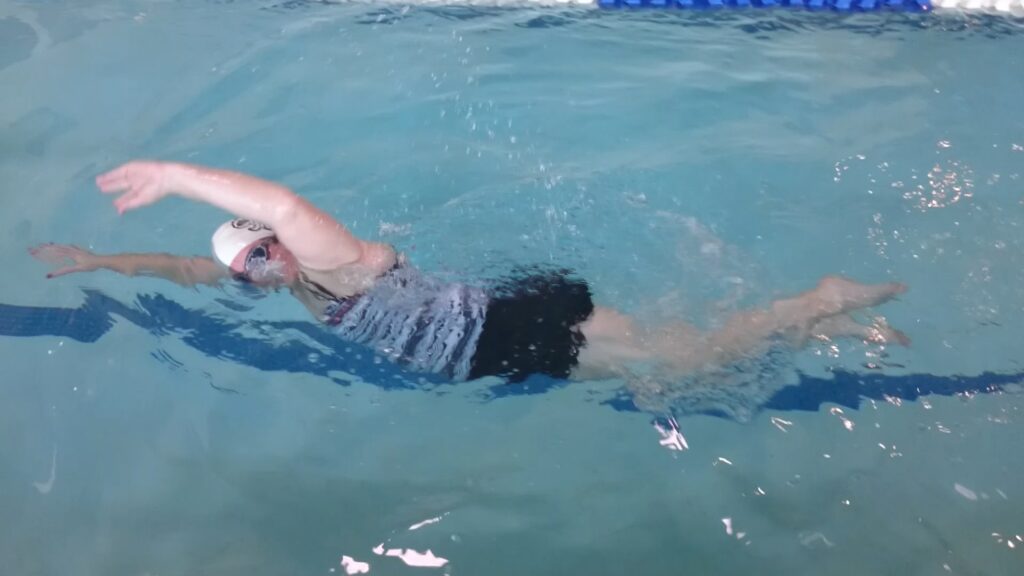
As you get more and more comfortable putting the strokes together, see if you can make it all the way down the pool (about 25 yards or meters). If your pool is longer, go as far as you can go comfortably.

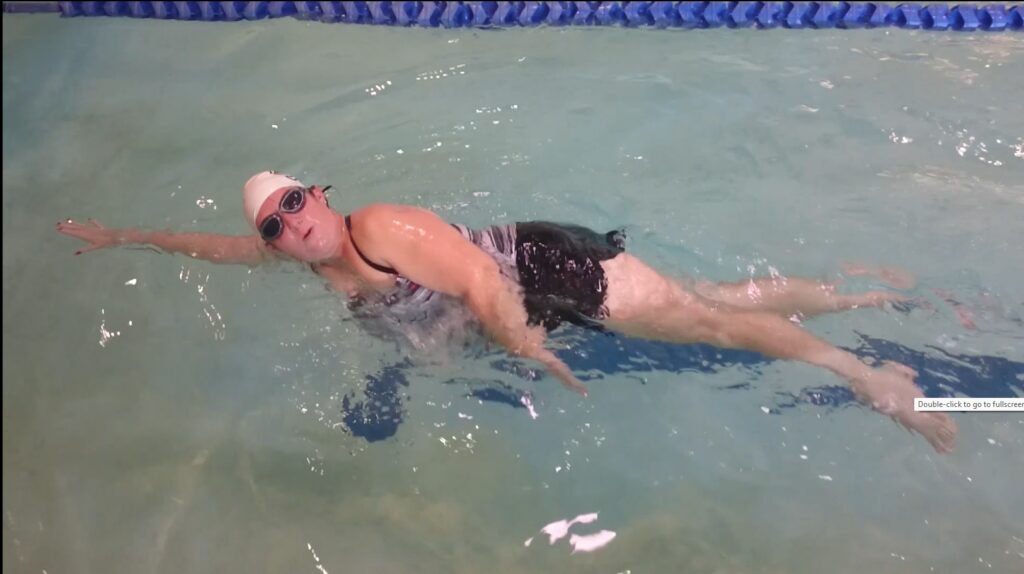
See the video below to see what it looks like as you put it all together.

Leave a Reply

Your email address will not be published. Required fields are marked *

This site uses Akismet to reduce spam. Learn how your comment data is processed.

Instagram
YouTube